
4 Phases of Processing the Digital Image
With my many years in photography (Polaroid R&D Emulsions; Nikon; US Patent in Color Printing; Olympus; teaching; etc.), the single biggest evolution in photography was not Film to Digital but the non-destructive processing of digital camera raw image capture.
(a.k.a. Parametric Image Editing – P. I. E.).
There are many aspects to consider in the digital image workflow (exposure considerations, raw data converters, etc.) which I will address in other articles. In this post,I will address the single biggest evolution – the non-destructive processing of the digital raw image data. I will chart the 4 distinct phases of processing the digital image and the parallel steps to B&W film processing. And, at the end, I will show an example with the digital processing applied for each of these 4 Phases. Let’s begin…
It is become apparent to me that there are distinctly 4 Phases when processing the digital image:
- Import
- Global
- Selective
- Expressive
Note: I have to mention that at the base of these 4 Phases of non-destructive processing is the capture of the camera raw data. This digital raw capture (really phase 0) will be the subject of another article (click here). However, I have included a thumbnail and address this captured data (0. Capture) as a point of reference for the other 4 Phases.
Comparing the “4 Phases” of Digital Processing to B&W Film Processing
| Phase | Digital Processing (P.I.E.) | B&W Film Equivalent |
|---|---|---|
| 0. Capture | {Digital Raw Capture}: Expose for highlights (ETTR) | Film’s Latent Image: expose for Shadows, develop for Highlights |
| 1. Import | {Apply Camera Defaults}: Standard Clarity, Sharpen, Noise Reduction; Camera Calibration; Lens Profile; etc. | Standard Development: Time/Temp., Developer Type, Agitation, etc., (Zone System N +/-) |
| 2. Global |
|
Selecting proper paper grade to match contrast range of negative |
| 3. Selective | Spot Removal, Red-eye Removal; Adjustments Brush; Graduated &, Radial Filter; etc. | Dodging and Burning; Photo-Retouching |
| 4. Expressive | Pixel Editing; Nondestructive, Re-Editable Digital Tools | Paper Surface, Toning, Localized rubbing of warm cotton swab on paper, (limited, not reversible) |
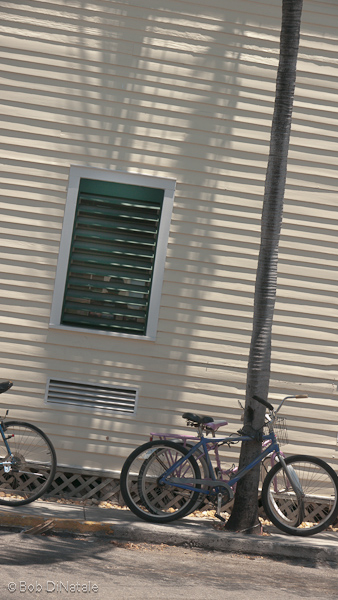
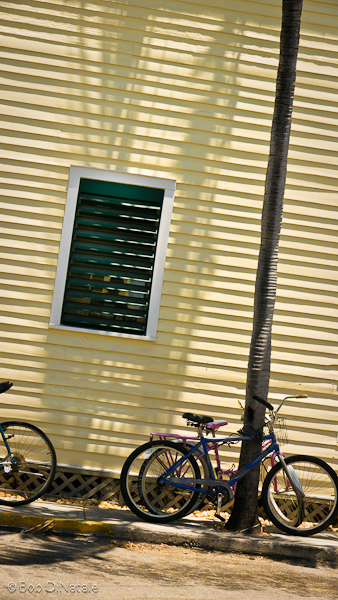
“4 Phases” Example:
Location: Florida Keys Conditions: Bright sun; 12:56 PM June
| Phase | KW “Bikes” Digital Processing |
|---|---|
| 1. Import | WB: “As Shot”; Clarity = 33; Sharpening = 40/0.8/35; NR = 0; GH3: Lens Profile & Camera Calibration |
| 2. Global | Exposure = +0.44; Highlight = 16; Shadow = 38; Black = 5; Brightness = 34; Contrast = 52; Clarity = +33; Vibrance = 0; Saturation = +13 |
| 3. Selective | Adjustment Brush on” green window” |
| 4. Expressive | Photoshop = “remove grate under window” |
** In this example, the 4th “Expressive” phase needed Photoshop to replace pixels. This “trip” to Photoshop is always part of the 4th “Expressive” phase but not necessary in many photos. For more examples see my Anatomy of an Image Page (click here)
A Quick Note:
Check out ASMP’s site www.dpbestflow.org – a great source for best practices in the digital image workflow

Want to learn more?
Buy the book!
Processing the Digital Image [PDF Book]
$16.95
Online Classes Available
The Complete Digital Photographer
$500.00


Let’s Work Together!
Train OnLine With Bob
$50.00 – $750.00